How to hang your gallery with self-adhesive hangers
No drilling needed. The paper template shows exactly where each hanger goes, so the whole gallery ends up level and evenly spaced.
Hanging on nails instead? See the nail guide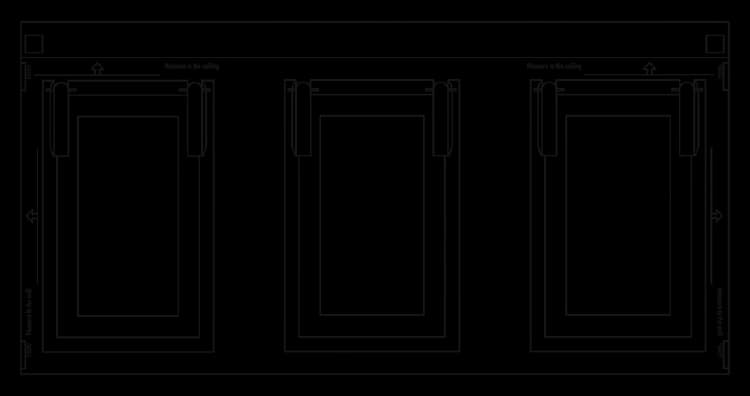
Step 1
Unfold the template and stick it using the corner tapes.
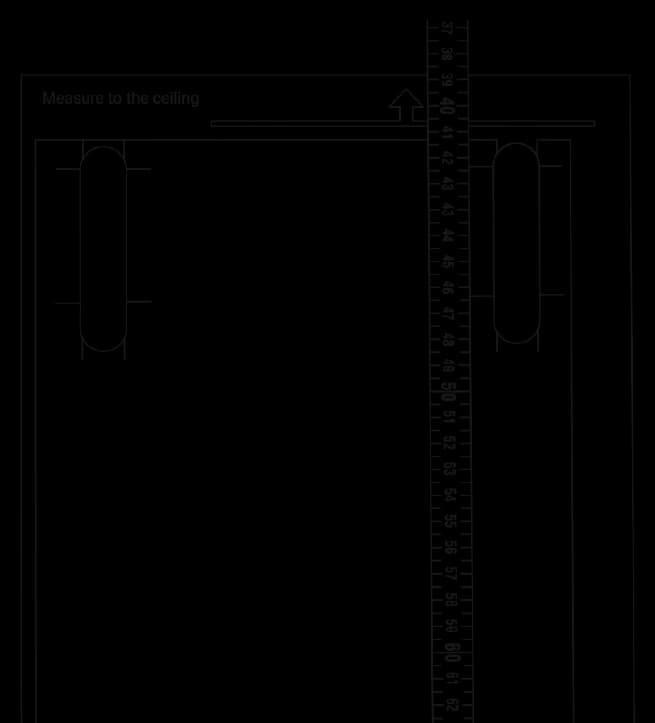
Step 2
Position and level the template, e.g. measure to the ceiling.
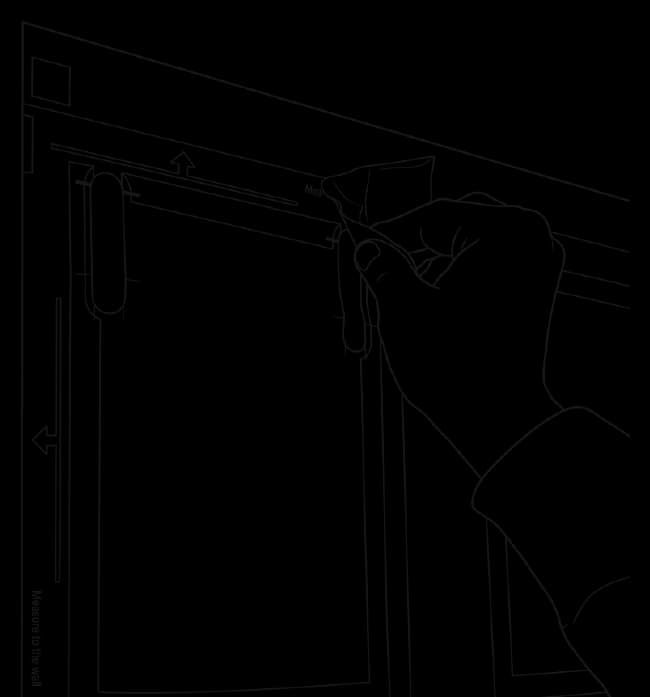
Step 3
Wipe through the cut-outs with the included wipe and let dry.

Step 4
Snap off one hanger from the strip.

Step 5
Peel off the hanger tape liner.
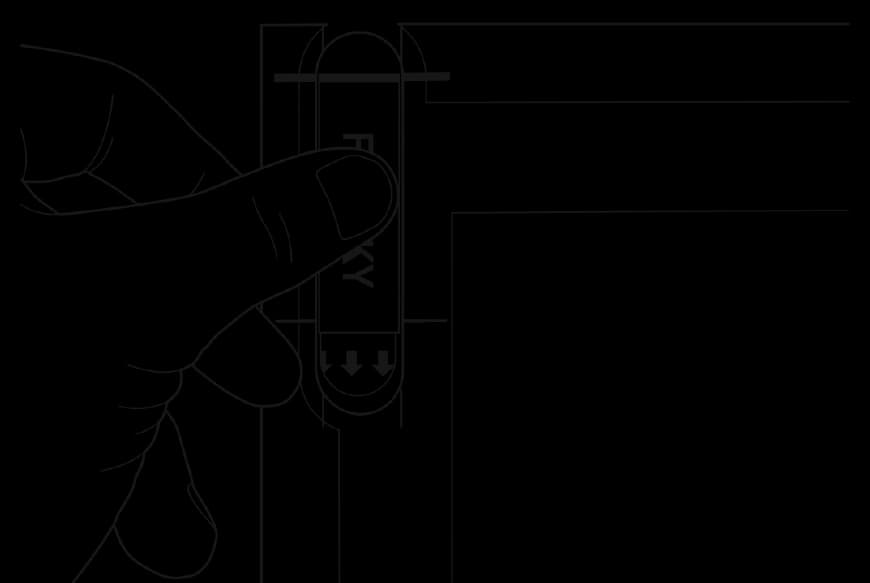
Step 6
Place in the opening, align foam to bold line, press and hold 5 s.
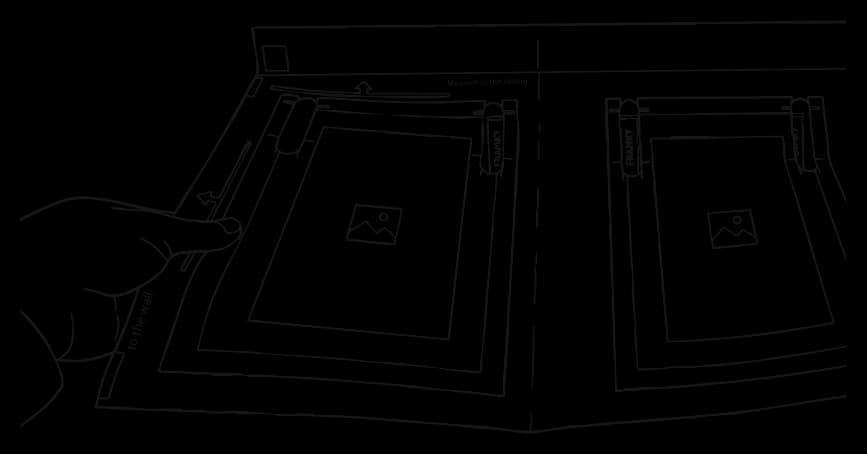
Step 7
Remove the template, peeling from one corner.

Step 8
Hang each frame on its two matching hangers.
Self-adhesive hangers will not damage the wall, provided the paint is firmly bonded to the plaster and the plaster itself is stable.
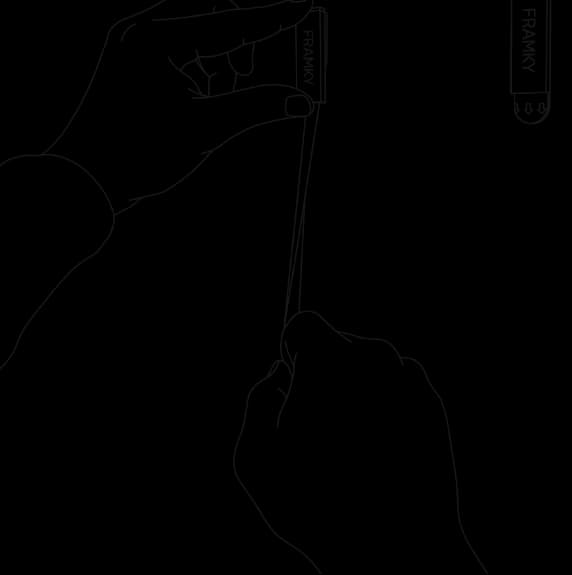
Removing hangers from the wall
Hold the hanger firmly against the wall and pull the tape tab straight down, slowly. Don’t pull the hanger off the wall.