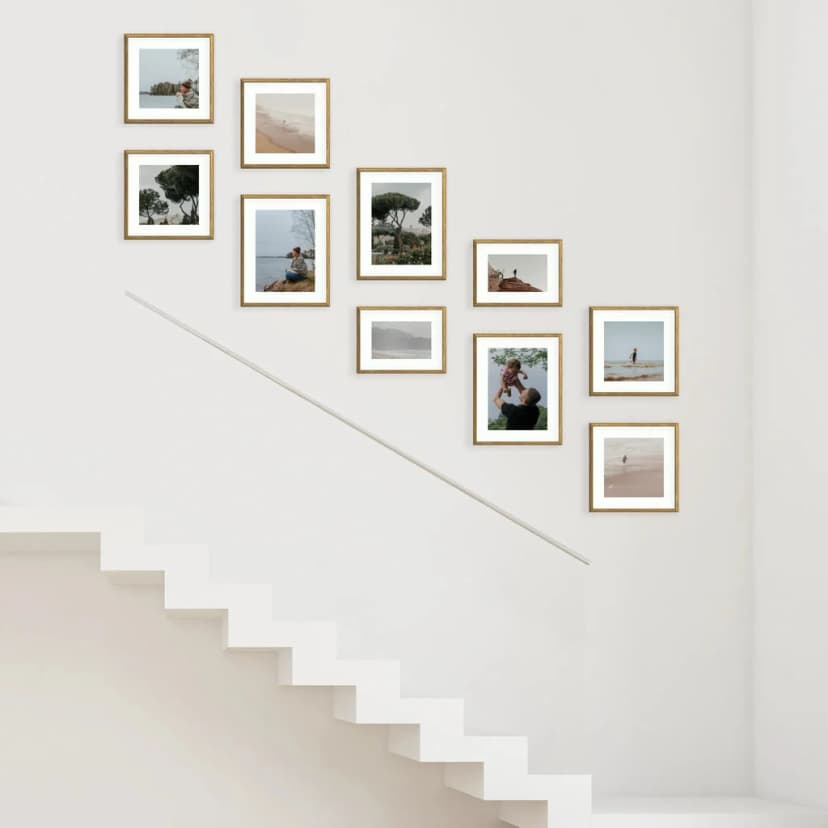
How to Hang a Photo Gallery Wall on Stairs
Hang a staircase photo gallery in about 15 minutes: measure the rise, pick a stepped layout, use Framky’s 1:1 template — no drill.
5 min read
Article
How to plan a photo gallery wall in your entryway across 1–4 metres — height, frame count, dimensions and mistakes to avoid. A practical Framky guide.
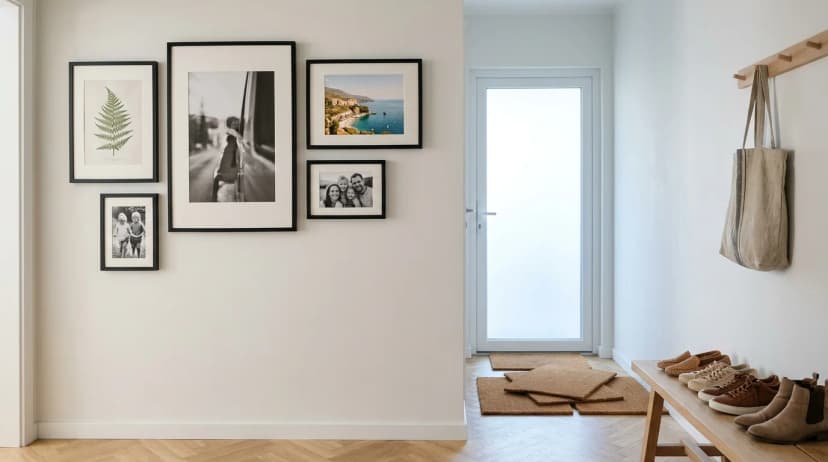
TL;DR: A gallery in your entryway should occupy 50–65% of the available wall length, and the centre of the composition should be positioned at 145–155 cm from the floor. On a typical UK entryway wall of 2–3 m, you can comfortably fit 3–7 Framky frames in a linear layout — without drilling, using self-adhesive hangers.
Your entryway is the first interior your guests see — and the last space you leave when stepping out of your home. In UK properties, it typically measures 1.5–4 m in length and 1.2–2 m in width, meaning every design decision matters more here than in a living room. A well-planned photo gallery wall transforms this transitory space into a personal statement about your home. A poorly planned one makes the entryway feel cramped and chaotic.
A photo gallery wall in an entryway is a composition of 3–9 frames hung on one wall in the entrance zone, designed for limited viewing depth (1–2 m distance from the wall) and brief eye contact (typically 4–6 seconds whilst entering or leaving). Unlike a living room gallery, its purpose isn't to encourage prolonged contemplation, but to create a cohesive, memorable first impression.
Entryways are governed by three limitations that don't exist simultaneously in other rooms:
For these three reasons, linear, monochromatic and distinctly rhythmic compositions work best in entryways — anything that helps the brain understand the image in a fraction of a second.
The table below shows how many Framky frames will comfortably fit on a wall of various lengths, assuming 5–7 cm gaps between frames and 15–20 cm margins from doors and corners.
| Wall length | Max frame size | Minimum frames | Recommended number | Maximum (without overwhelming) |
|---|---|---|---|---|
| 1.0 m | 20 × 30 cm | 2 | 3 | 4 |
| 1.5 m | 30 × 40 cm | 3 | 4 | 5 |
| 2.0 m | 30 × 40 cm | 3 | 5 | 7 |
| 2.5 m | 40 × 50 cm | 4 | 6 | 8 |
| 3.0 m | 40 × 60 cm | 4 | 7 | 9 |
| 4.0 m | 50 × 70 cm | 5 | 9 | 12 |
Key principle: A gallery in your entryway should occupy 50–65% of the wall length it occupies. Less feels haphazard; more becomes overwhelming and visually narrows the corridor.
In most entryways, the centre of your composition should be positioned at 145–155 cm from the floor. This is the museum standard, which works well for most adult guests in UK properties.
Two situations where it's worth deviating:
The safest choice for entryways 1–2 m wide. Frames of the same size (e.g. 6 × 30 × 40 cm) in one row, aligned to a common horizontal axis. 5–6 cm spacing. Effect: order, elegance, visual illusion of corridor length.
One larger frame (40 × 60 cm or 50 × 70 cm) in the centre, with 2 smaller frames (20 × 30 cm or 30 × 40 cm) on each side. The central point draws the eye, the sides create rhythm. Excellent choice when you have one "most important" photograph (wedding, family portrait) you want to highlight.
Only for entryways wider than 2 m or walls longer than 3 m. Two rows of frames at the same height, 6–8 cm spacing between rows. Caveat: this layout visually "lowers" the ceiling, so avoid it in properties with ceilings below 2.5 m.
Entryways have the most walls where you don't want to drill: joints with stairwells (noise), partition walls of plasterboard, wallpaper, old plaster masonry. In each of these cases, Framky's self-adhesive hangers support frame weight up to 50 × 70 cm and 900 g mass.
Self-adhesive hangers won't damage walls, provided the paint is firmly bonded to plaster and the plaster itself is stable. Before installing, test on a hidden wall area (e.g. behind a coat peg): stick one hanger for 24 hours, then remove it following instructions. If paint comes off with the tape — don't proceed.
For a detailed guide to drilling-free installation, see Hanging frames without drilling.
This guide doesn't apply to three situations:
Your composition's centre should be at 145–155 cm from the floor. If you plan a coat peg below the gallery, leave at least 15 cm clearance between the highest hung coat and the bottom edge of the lowest frame.
On a 2 m wall, you can comfortably fit 3–7 frames, assuming they occupy 50–65% of the wall length. Recommended frame size for such a wall is 30 × 40 cm. Detailed sizing relationships are shown in the dimensions table above.
Yes. In an entryway where the eye lingers for 4–6 seconds, cohesion works more powerfully than variety. Choose one theme (family, travel, black-and-white portraits) or one colour tone. Mixed themes only work from 4–5 metres of wall length onwards.
Yes. Framky's self-adhesive hangers are designed precisely for walls where drilling is forbidden. Before installing, test on a hidden wall area: stick one hanger for 24 hours and check whether paint comes off when you remove the tape.
For an entryway 1–1.5 m wide, optimal sizes are 20 × 30 cm and 30 × 40 cm. Larger frames (40 × 60 cm, 50 × 70 cm) need at least 1.5 m viewing distance to be properly absorbed visually — in a tight entryway they'll look cramped.
No. Framky frames are without glass — the protective role is played by a rigid cardboard plate under matte photographic paper. No glass means no reflections, which is especially important in entryways lit by side light from a window or wall lights above entrance doors.
If you're planning a gallery not just in your entryway but also along a corridor to other rooms, check out Photo gallery in a corridor — corridor ideas. Once you've chosen your wall, it's also worth reading Psychology of photo placement, which explains why some walls in your home work better for galleries than others. For a complete 8-step planning process for galleries in any space, see How to plan a photo gallery wall.
You can design a finished gallery for your entryway in Framky's configurator — choose frame count, sizes and layout, and we'll handle printing on matte photographic paper and dispatch with self-adhesive hangers included.
Sign up and we'll send you a code with a bigger discount than the shop offers — plus occasional inspiration for your photo gallery wall.
Hang a staircase photo gallery in about 15 minutes: measure the rise, pick a stepped layout, use Framky’s 1:1 template — no drill.
Hang a photo wall in the stairwell: measure the rise, pick a layout along the banister, use a 1:1 template. No drill, about 15 minutes.
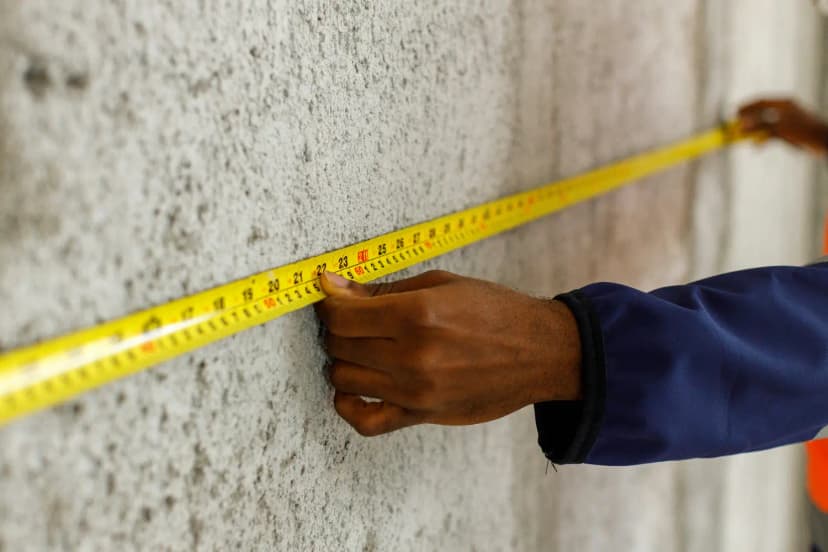
See gallery wall layouts with real sizes — 3, 5, 6, 8, 10+ frames. Match a Framky kit to your wall width, then hang with a 1:1 template.
Give it a try?
See how it works