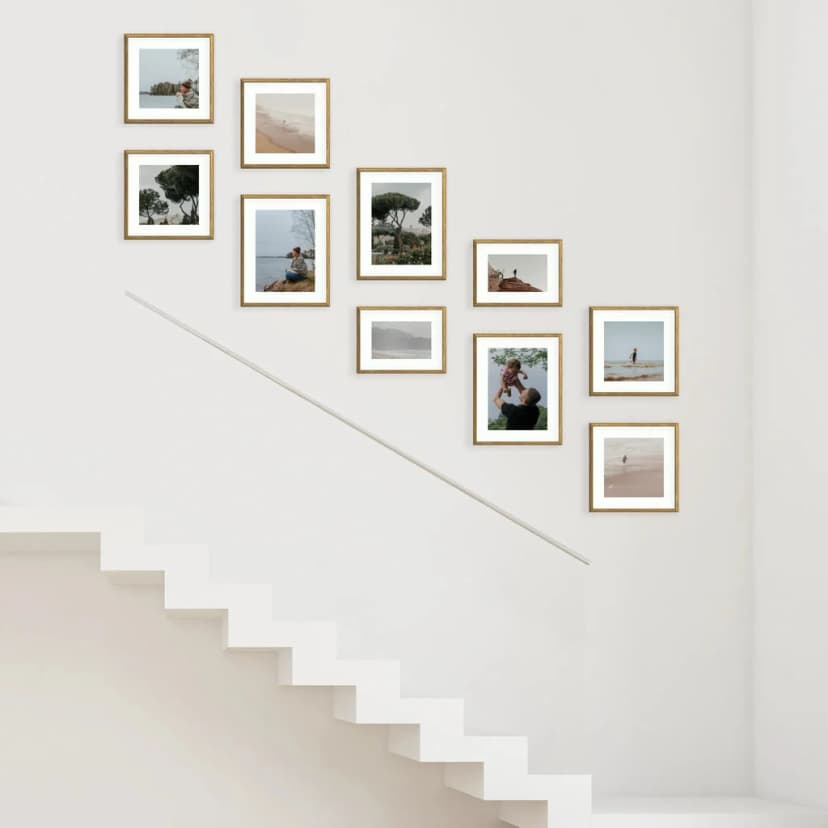
How to Hang a Photo Gallery Wall on Stairs
Hang a staircase photo gallery in about 15 minutes: measure the rise, pick a stepped layout, use Framky’s 1:1 template — no drill.
5 min read
Article
See gallery wall layouts with real sizes — 3, 5, 6, 8, 10+ frames. Match a Framky kit to your wall width, then hang with a 1:1 template.
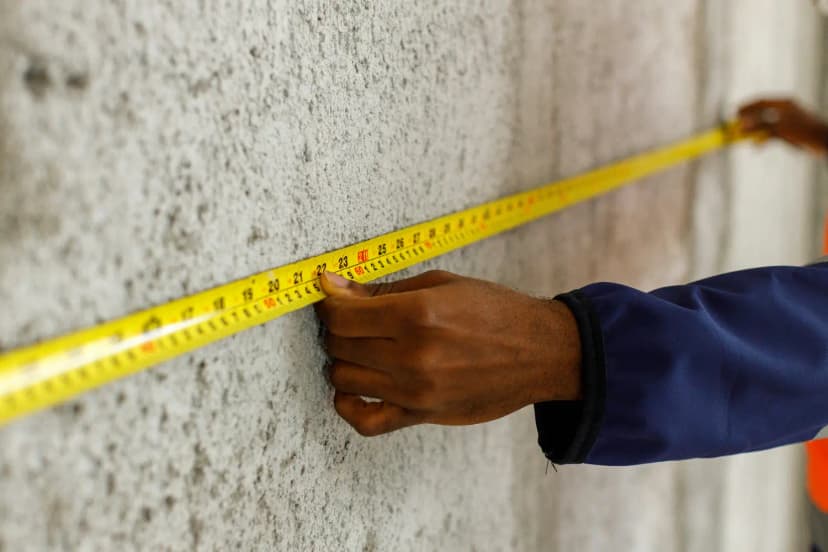
A gallery wall layout is only useful with sizes attached. "Five frames above the sofa" tells you nothing until you know the set is 181 cm wide and 98 cm tall, because that is the number you hold against the wall. Below are Framky layouts for 3, 5, 6, 8, and 10 frames, each with the width and height of the whole set in centimetres and the frame formats inside it. Measure first, then pick the one that fits.
Every size is the footprint of the complete set on the wall, not of one frame. Frame formats are listed the way the shop lists them, width first in centimetres, so 50×30 is a landscape frame and 30×40 a portrait one.
Take three measurements before you look at a single layout.
Write the result as width × height, for example 200 × 110 cm, and check every kit below against both numbers. A set can be narrow enough and still too tall for the gap between a sofa back and a low ceiling.
A staircase is the exception. The usable area follows the slope of the handrail, so a rectangular set is the wrong shape. The kits in staircase gallery walls are sized for that climb.
| Frames | Kit | Layout | Set size (W × H) | Frame formats (cm) |
|---|---|---|---|---|
| 3 | Stepped Vista S | stair-step | 123 × 88 cm | 55×70, 30×40, 50×30 |
| 5 | Stepped Vista M | stair-step | 181 × 98 cm | 40×50, 30×30, 55×70, 30×40, 50×30 |
| 5 | Organic Flow S | collage | 188 × 96 cm | 35×35 (×3), 35×50, 50×65 |
| 6 | Geometric Office M | grid | 225 × 125 cm | 55×55 (×6) |
| 6 | Layered Moments M | collage | 173 × 136 cm | 55×70 (×2), 35×45 (×2), 35×25 (×2) |
| 8 | Layered Moments L | collage | 213 × 136 cm | 55×70 (×2), 35×45 (×2), 35×35 (×2), 35×25 (×2) |
| 8 | Organic Flow L | collage | 233 × 126 cm | 50×65 (×2), 50×35 (×3), 35×35 (×2), 35×50 |
| 10 | Parallel Flow S | two-row grid | 198 × 67 cm | 40×30 (×6), 25×30 (×4) |
All eight are sold as complete kits in the shop: photo gallery wall. Each kit contains MDF frames, prints of your photos, a 1:1 paper template, and self-adhesive hangers.
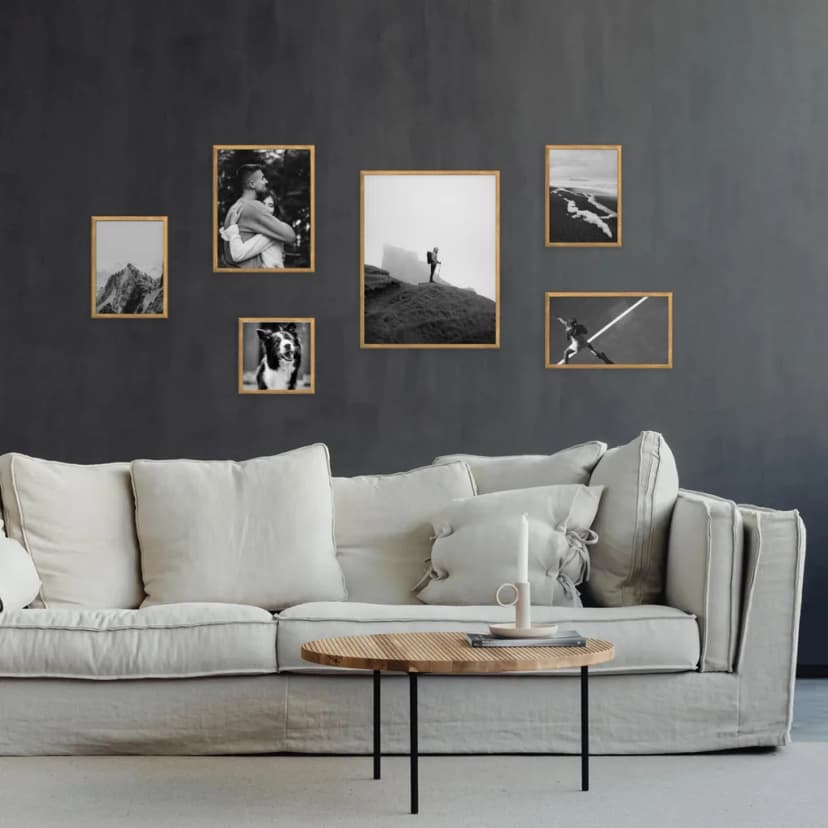
One 55×70 on the left carries the set. A 30×40 sits top right with a 50×30 under it, which brings the whole thing to 123 cm wide and 88 cm tall. That is a size for a narrow wall or a two-seater; the living-room guide pairs it with a sofa of about 190 cm. With only three frames the gaps do most of the work, so the template matters as much here as on a ten-frame wall.
Two sets of five with almost the same footprint and a different character.
Stepped Vista M puts the 55×70 in the middle, a 40×50 over a 30×30 on the left, and a 30×40 over a 50×30 on the right. The set is 181 × 98 cm and pairs with a sofa of about 270 cm.
Organic Flow S has no centre line. A 50×65 sits right of centre. Left of it a 35×35 square stands over a 35×50, and two more 35×35 squares sit at the far left and the far right. At 188 × 96 cm it is a little wider and a little lower than Stepped Vista M, and it pairs with a sofa of about 280 cm.
Both stay under 100 cm tall, so they fit above a sofa even where the ceiling is low.
Same count, opposite shapes.
Geometric Office M is six 55×55 squares in two rows of three. The squares sit far wider apart than the 5–8 cm you would leave above a sofa, which is how six frames cover 225 × 125 cm. It is a layout for a long wall in an office, a corridor, or a dining room, where the eye travels along the row.
Layered Moments M is a collage. Two 55×70 frames anchor it, one high on the right and one low on the left, with two 35×45 and two 35×25 around them. At 173 × 136 cm it is closer to square, so it fills the wall above a sofa of about 260 cm without needing the full width.
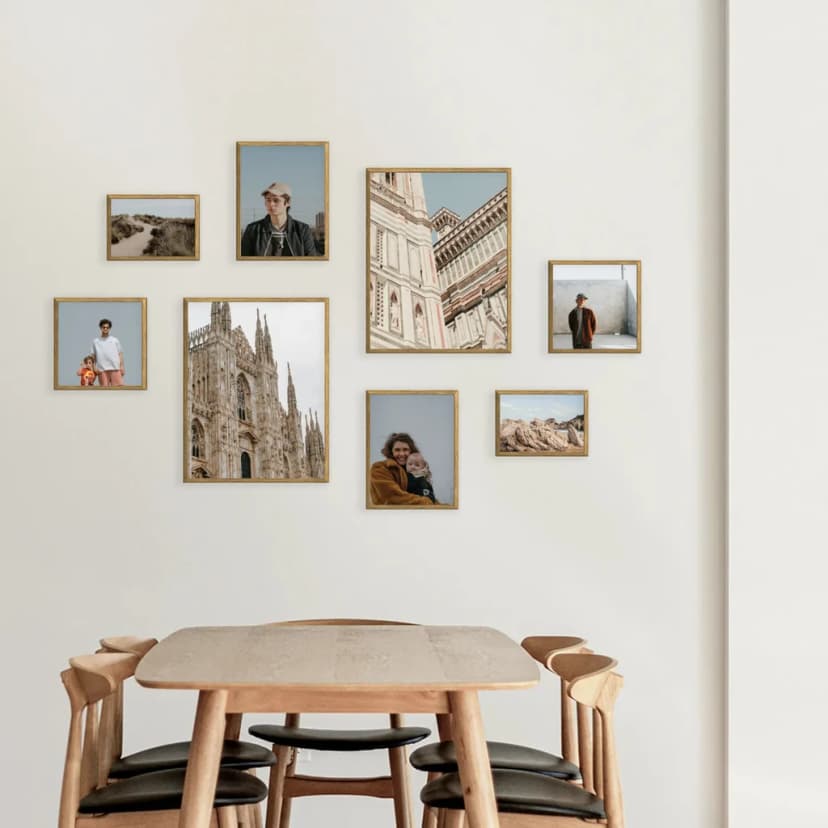
Layered Moments L keeps the M set and its 136 cm height and adds a 35×35 square at each end. The result is 213 cm wide, the two-thirds width for a sofa of about 320 cm.
Organic Flow L is the widest set in this list at 233 × 126 cm: two 50×65 portraits, three 50×35 landscapes, two 35×35 squares, and one 35×50. It pairs with a sofa of about 350 cm, or with a long wall that has a daybed or a bench under it.
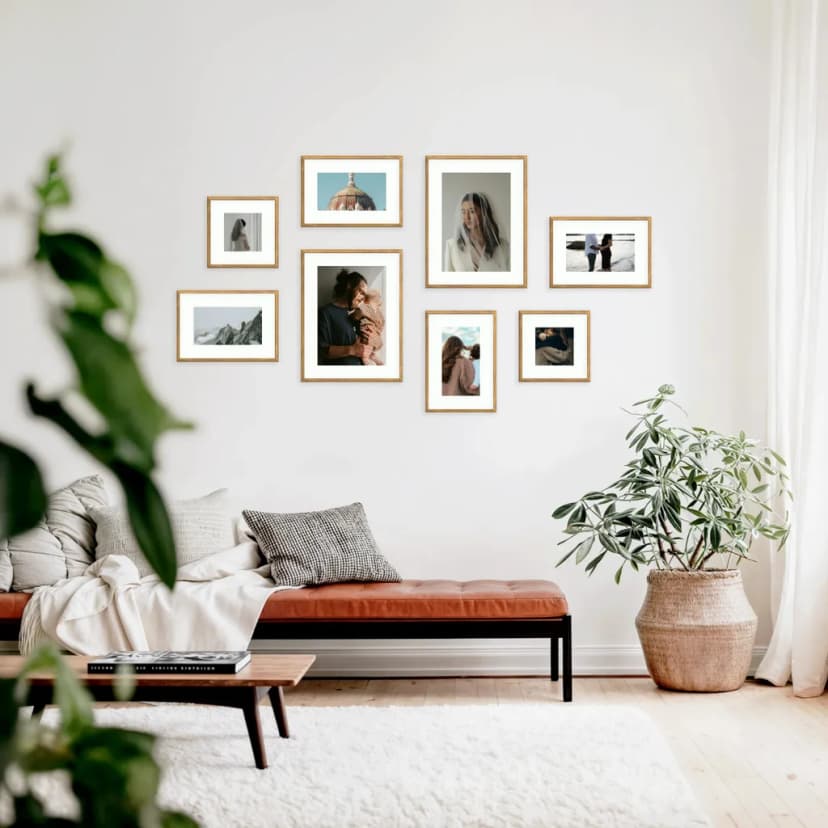
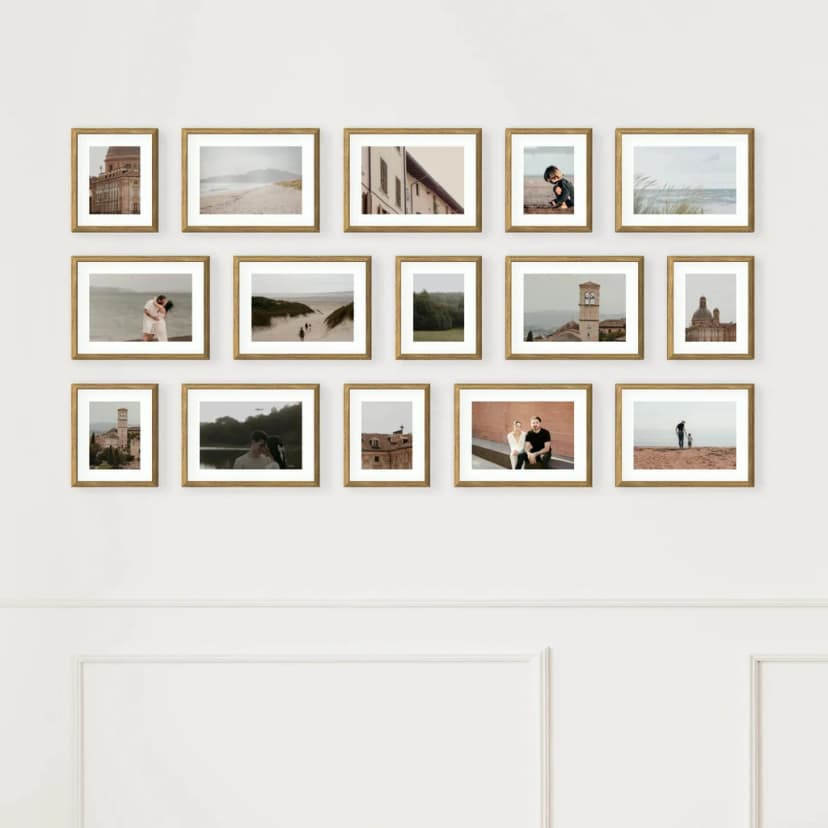
Ten frames in two rows of five. Every frame is 30 cm tall, three 40×30 and two 25×30 in each row, so the rows read as two clean lines. The set measures 198 × 67 cm, which is exactly the two-thirds width the living-room guide gives for a 300 cm sofa. The 67 cm height is the point. It is the layout for a long, low wall: above a sofa under a low ceiling, or along a hallway.
If you want more than ten, Parallel Flow M runs 12 frames at 151 × 104 cm and Parallel Flow L runs 15 frames at 198 × 104 cm, the same width as S with a third row.
| Grid (Geometric Office, Parallel Flow) | Collage and stair-step (Layered Moments, Organic Flow, Stepped Vista) | |
|---|---|---|
| Frames | one format, or one height per row | mixed formats, from 35×25 up to 55×70 |
| Gaps | identical everywhere, so a 1 cm slip shows in every gap | even, but a small slip hides in the variety |
| Photos | one consistent set: one trip, one session, one crop | mixed photos, portrait and landscape together |
| Footprint | wide and low (Parallel Flow S is 198 × 67 cm) | closer to square (Layered Moments M is 173 × 136 cm) |
| Reads as | one block | one composition with a visual centre |
Choose the grid when the photos belong together and you want the wall to read as one object. Choose the collage when the photos differ in orientation and importance, because the large formats tell the eye where to start. Both hang the same way with a template. The grid is the harder one to hang without it, because every gap is compared with its neighbour.
Keep 5–8 cm between frames. Closer and the set looks cramped; wider and the frames stop reading as one composition. This is the same rule as in the living-room guide, and it holds for three frames or fifteen.
In a Framky kit you do not measure the gaps at all. They are fixed by the layout and printed on the template, so the frames land where the design put them. The gaps only become your problem when you build a gallery from frames bought one by one, and that is where 5 cm here and 4.5 cm there shows up from across the room.
Every kit above ships with a paper template printed at 1:1 scale. It is the whole layout at real size, so hanging is transferring a drawing, not measuring.
The self-adhesive hangers do not damage the wall if the paint is firmly bonded to the plaster and the plaster is stable. On peeling paint or weak plaster use the traditional mount instead: 2 nails in the inner corners of each frame (nails not included). The full method, including a 24-hour test hanger on a hidden patch, is in hanging photo frames without drilling.
The frames are MDF frames without glass, which keeps them light for the hangers and keeps reflections off your photos. The photos are made with pigment printing with a set of 12 inks on matte photographic paper, with a rigid cardboard plate behind the print.
If none of the eight footprints fits your rectangle, build your own in Framky Studio. You add and remove frames, change their sizes, and move them around the canvas, with a preview of the finished wall as you work. Keep the two-thirds rule and the 5–8 cm gaps while you do it, and check the width and height of your design against the numbers you measured before you order.
What size gallery wall for a sofa? About two-thirds of the sofa width, hung 15–20 cm above the back cushions. A 300 cm sofa takes a set around 198 cm wide, which is Parallel Flow S at 198 × 67 cm; a 200 cm sofa takes about 130 cm, close to Stepped Vista S at 123 × 88 cm. The rule and six living-room layouts are in living room gallery wall ideas.
How much space between frames? 5–8 cm. Closer looks cramped, wider and the frames stop reading as one set. In a Framky kit the gaps are fixed by the layout and marked on the 1:1 template, so you transfer them instead of measuring them.
Is a layout with sizes better than buying frames one by one? It is faster and it is predictable. A kit gives you matched MDF frames, prints of your photos, a 1:1 template, and self-adhesive hangers, and its footprint in centimetres is known before you order. Buying frames one by one means measuring each frame, working out the gaps yourself, and only finding out the total width once everything is on the wall.
Pick a layout with its size in the shop: photo gallery wall.
Sign up and we'll send you a code with a bigger discount than the shop offers — plus occasional inspiration for your photo gallery wall.
Hang a staircase photo gallery in about 15 minutes: measure the rise, pick a stepped layout, use Framky’s 1:1 template — no drill.
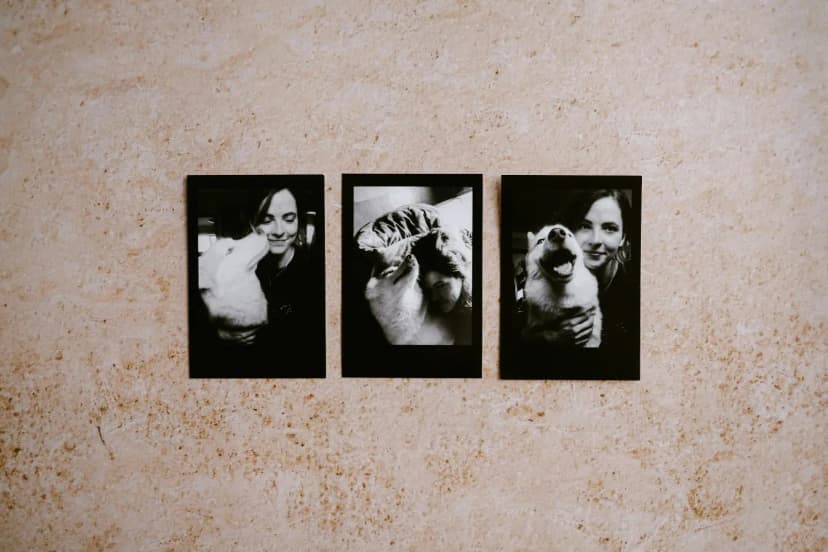
What to look for in a gallery wall frame set: matched frames, prints, 1:1 template, hangers. Why Framky kits beat loose frames.
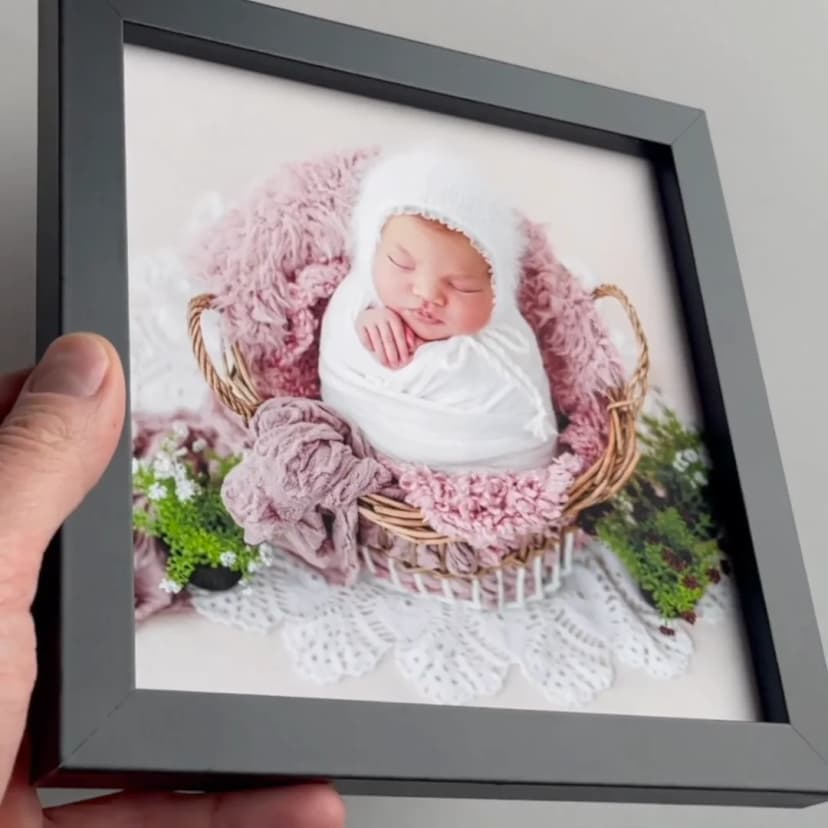
Framky frames skip glass on purpose: richer pigment colour, no glare, lighter hang, safer around kids, plus easy print replacement.
Give it a try?
See how it works