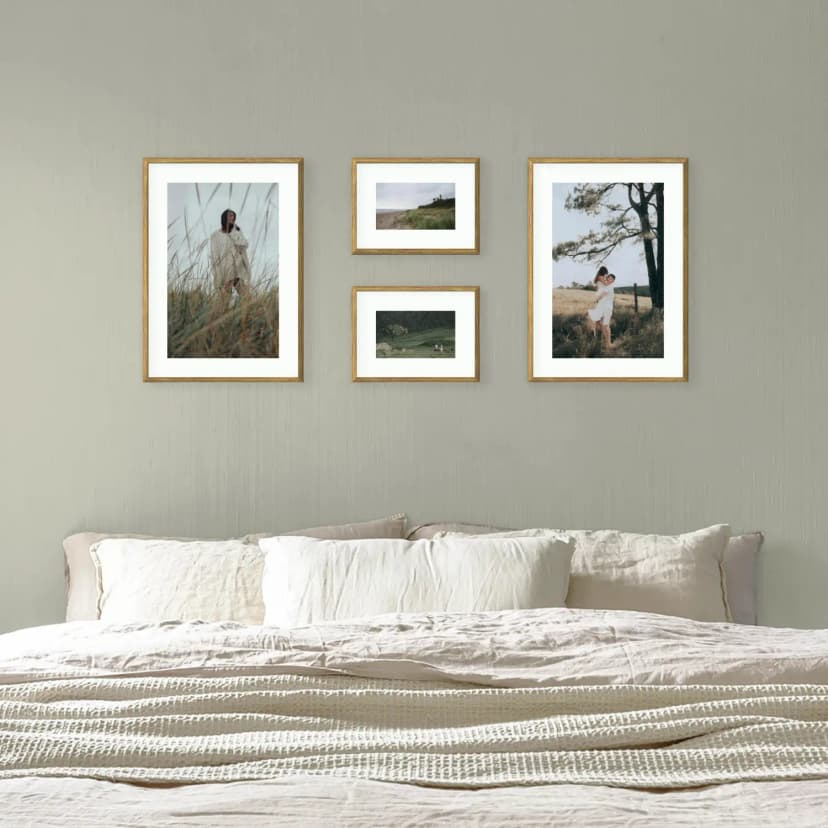
Gallery Wall on a Sloped Ceiling: How to Hang Pictures in an Attic Room
Under a sloped ceiling, hang the gallery on the low knee wall or the gable wall, not on the slope. Heights, layouts and fixings for attic rooms.
6 min read
Article
Hang a staircase photo gallery in about 15 minutes: measure the rise, pick a stepped layout, use Framky’s 1:1 template — no drill.
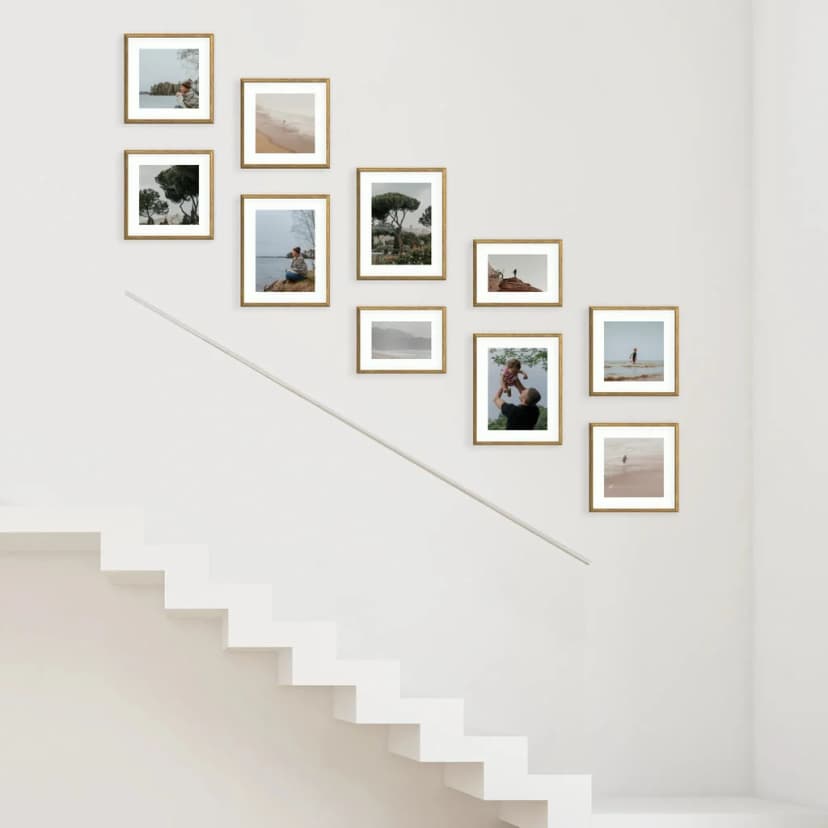
A staircase photo gallery works when the frames climb on one rising line that matches the stairs, not when each frame is hung from its own step. Measure the rise, choose how many frames fit that run, put photos in chronological order as you walk up, then tape the 1:1 template on the incline. Framky MDF frames hang on self-adhesive hangers, so you do not drill. If you already know you want a layout that follows the stairs, browse staircase gallery wall kits.
Stand on the landing and look along the banister. The useful wall is the triangle or parallelogram beside the handrail, from the first tread you want to dress to the last.
Do not hang from each step as if it were a separate wall. The floor height changes on every tread. A rising line keeps the composition one piece as you walk.
For the height of the line itself, start at about 150 cm above the step under the middle of the gallery. The table for every room is in how high to hang a gallery wall, and stairs come up among the most debated places in our gallery wall report 2026.
Each frame on the stairs sits higher than the one before it. How much higher depends on the steepness of your stairs.
This keeps every frame on the same rising line. The 1:1 template does this for you, but the numbers help you check it before you tape anything.
Count the length of the rising line, not the number of treads. One frame per step is usually too tight: the gaps vanish and the handrail starts to hide the lower edges.
Leave a consistent gap between frames. Leave a clear margin from the handrail so knuckles and the rail do not scrape a frame. Leave a margin from the stringer or skirting so the layout does not sit in the kick zone.
A short flight often needs fewer, larger frames. A taller well can take more, smaller ones. If you are unsure, tape paper rectangles first and live with them for a day. Ready-made staircase gallery wall kits already step with the stairs, so you are not inventing the count from scratch.
Three frames are the most common question for a short flight. Three layouts work:
| Layout | How it looks | Best for |
|---|---|---|
| Three steps | Three frames of the same size, each one higher than the last | Short flights, a narrow wall |
| Large in the middle | A large frame in the centre, two smaller ones below and above it on the same line | Wider walls, one favourite photo |
| Vertical column | Three frames stacked above each other at the landing | A flat wall at the top or bottom of the stairs |
For the stepped layout, centre the middle frame on the middle of the flight, then place the other two at the same horizontal distance on each side and use the climb from the section above.
For our gallery wall report 2026 we read 435 forum threads about photo gallery walls. More than a dozen of them were about stairs, mostly on Houzz, Reddit and UK forums. One poster asked how many photos, and how high, and said they felt overwhelmed. The replies kept pointing at the same three mistakes:
Stairs are a path. Order the photos as a chronology from the bottom: earliest moments on the lower flight, later ones as you go up. A family photo gallery wall on the stairs then reads like a walk through the years instead of a jumble.
Keep one thread: family, travel, or black-and-white portraits. Mix colour and black-and-white only if the frames and mats stay consistent. MDF frames without glass keep reflections off the stairwell light.
A Framky kit includes a paper template at 1:1 scale for the whole layout.

On a staircase the template is the same object, but gravity wants it to slide.
Do not try to re-measure each frame on the slope. The template already holds the gaps.
 without drilling](/_next/image?url=%2Fphotos%2Fhanging%2Fhanging1.webp&w=828&q=75)
Default mount: self-adhesive hangers. Peel, press each hanger on its mark for 30 seconds, hang the MDF frames. A full kit takes about 15 minutes. Frames without glass are light enough to set by hand. The largest Framky frames (50 x 70 cm) weigh up to 900 g on a sound, painted wall.
Self-adhesive hangers do not damage the wall when the paint is firmly bonded to the plaster and the plaster is stable. Skip adhesives on peeling paint, weak plaster, heavy stucco, fresh paint, or wallpaper that lifts as a sheet. If a 24-hour test hanger on a hidden patch lifts paint, use 2 nails in the inner corners of each frame (nails and screws are not included).
The full no-drill sequence is in hanging photo frames without drilling. Living-room layouts that sit on a flat wall, not a rise, are in living room gallery wall ideas.
When you want a composition that already follows the stairs, open the staircase photo gallery walls listing and pick a kit. That page is for choosing a layout. This guide is for hanging it.
Should a staircase gallery follow the handrail angle? Yes. The rising line should run parallel to the handrail so the gallery climbs with the stairs. A flat, furniture-style row looks level on a landing and crooked the moment the wall starts to rise.
How high should frames sit above each step? Do not set height from each tread on its own. Set one rising line parallel to the stairs, then keep every frame on that line. The distance from the walking line stays even, and you are not chasing a new eye level on every step.
Can I hang a staircase gallery if I rent? Yes, if you use self-adhesive hangers and the wall passes a 24-hour test. You are not drilling. Confirm the adhesive mount with your landlord in writing if the tenancy is strict. Pull the removal tab along the wall, not out at a right angle.
How do you hang 3 pictures on stairs? Put the middle frame at the middle of the flight, about 150 cm above the step below it. Place the other two at the same horizontal distance on each side, each one higher by the climb of the stairs.
How far apart should frames be on stairs? Keep the same gap between all frames, usually 5–8 cm, and measure it along the rising line. Each frame climbs by the horizontal distance between centres multiplied by the rise divided by the going of one step.
Sign up and we'll send you a code with a bigger discount than the shop offers — plus occasional inspiration for your photo gallery wall.
Under a sloped ceiling, hang the gallery on the low knee wall or the gable wall, not on the slope. Heights, layouts and fixings for attic rooms.
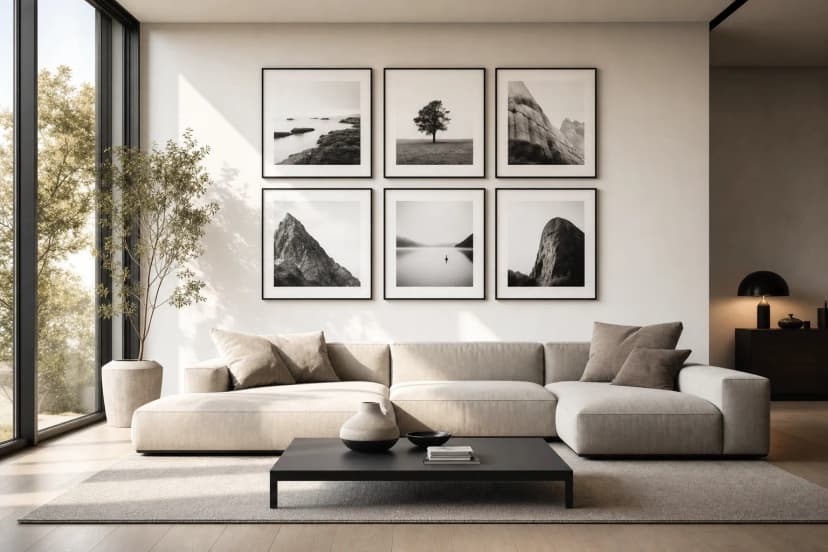
Treat the TV as one frame: centre the gallery on the screen, align edges, keep equal gaps and use larger frames near it. Four layouts that work.
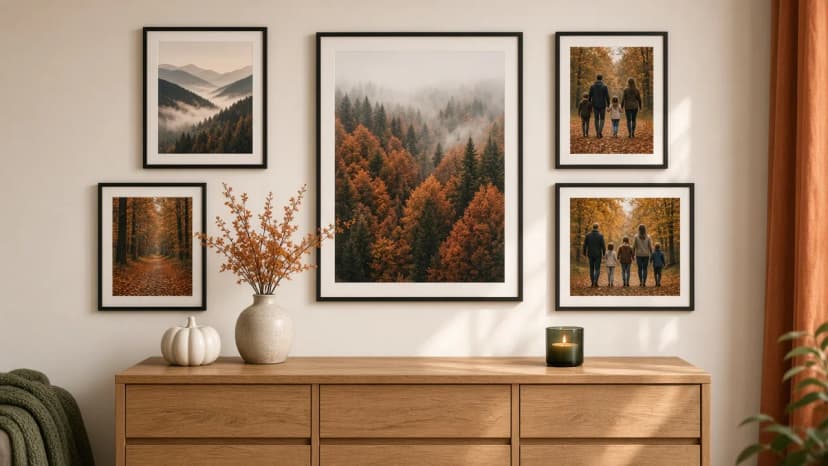
Autumn wall decorations without new frames: swap 2–3 photos in the gallery for forest, misty mountains, night sky and winter photographs from Framky Artists. How many to change, which palette, and when to return to the spring set.
Give it a try?
See how it works