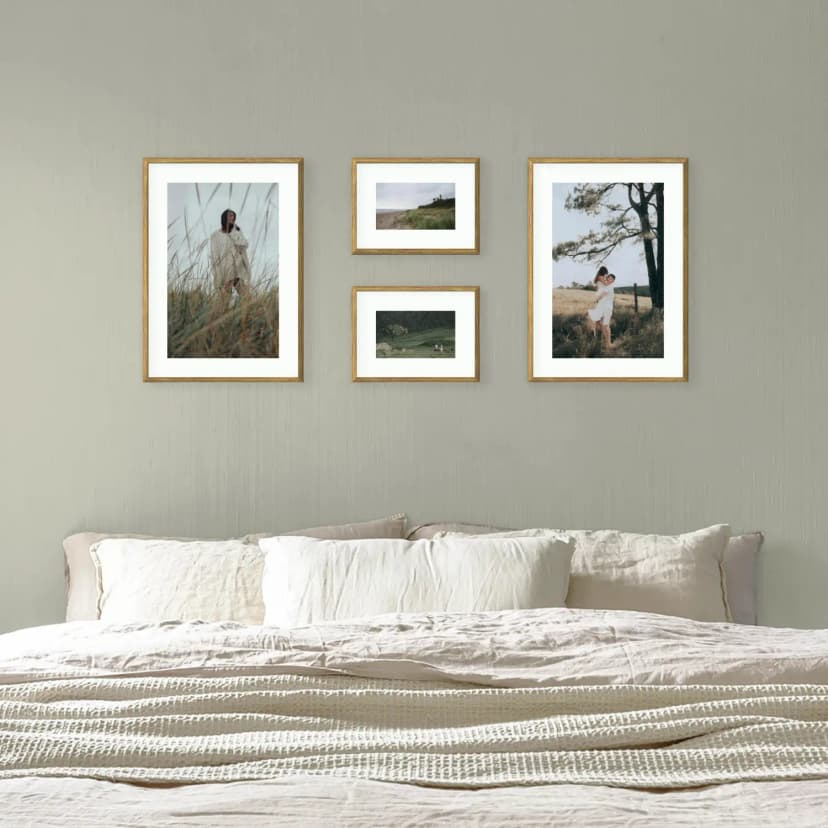
Gallery Wall on a Sloped Ceiling: How to Hang Pictures in an Attic Room
Under a sloped ceiling, hang the gallery on the low knee wall or the gable wall, not on the slope. Heights, layouts and fixings for attic rooms.
6 min read
Article
Discover the 10 most common problems people face when creating a photo gallery wall – and how Framky offers simple, elegant solutions.

Building a photo gallery wall in your living room is one of the easiest ways to give the space personality and emotional warmth. But the road to that “wow” moment can be surprisingly bumpy. If you’ve ever tried to do it on your own, you probably know the feeling: frustration, doubt, and decision overload.
Thankfully, Framky smooths out the entire journey – from choosing the layout to the final installation. Below are the 10 most common issues people run into and the concrete ways Framky helps you overcome them.
It all starts with uncertainty: Does this wall even work? Too wide, too narrow, too dark, too focal – analysis paralysis sets in and the project stalls before it begins. Picking the right wall feels riskier than it should.
Framky solves the location dilemma by offering layouts in a variety of sizes and proportions, purpose‑built for typical spots: over the sofa, above a sideboard, a hallway stretch or that awkward blank space in the dining room. Suddenly you can see exactly where the gallery belongs.
Practical tip: Follow the natural sight‑lines in your home. The first family gallery usually lives in the living room. Choose a wall that catches the eye the moment you walk in. A cold, empty patch instantly becomes a warm focal point once the photos go up.
The moment you think about spacing, symmetry, mixed sizes, you freeze. Measuring everything by hand feels like advanced geometry, not interior design. Inspiration turns into intimidation.
Framky eliminates that overwhelm with more than 1,000 designer‑made layouts you can filter by category, frame count and size. Each layout is fully balanced, so you can focus on the images, not the math.
Practical tip: When in doubt, pick a classic grid – say, three rows by two columns of squares. It’s a safe, dramatic look that fits most interiors. Use Framky’s online preview to test any layout with your own photos before you commit.
Buying frames from multiple stores is a lottery. Slight differences in thickness, finish or tone can wreck the entire composition. What should have been elegant turns into an irritating patchwork.
Every Framky set uses frames with identical styling and finish. Choose from six colours, all crafted to work together and with most décor styles, so visual harmony is guaranteed.
Practical tip: Pick a frame colour that either contrasts with the wall or echoes your furniture. In a bright space, dark oak or black frames give striking definition. Use Framky’s online preview to see the exact look before you order.
With thousands of images on your phone, choosing a dozen feels impossible. Perfectionism whispers that you should review every shot, but that’s a slippery slope toward frustration and procrastination.
The fix is to curate by emotion, not technical perfection. Framky never demands flawless images – it celebrates authenticity. Inside the gallery editor at framky.com you instantly see how your shortlist plays together on the wall.
Practical tip: Use your phone’s built‑in search. Type a person’s name, a date or a place. Focus on photos that make you feel something – even if they aren’t perfectly cropped. Heart wins over pixels every time.
Sourcing frames, ordering prints, trimming everything to size – it’s a time sink. Even if you make it to the print shop, photos rarely fit the frames and you end up re‑cutting or re‑ordering.
Framky kills that chaos. You do it all online: pick a layout, upload photos, crop directly in the gallery editor, then receive a ready‑to‑hang kit with frames, prints and a full‑scale mounting template.
Practical tip: Use the editor's live crop tool to fit each photo perfectly. You can move, zoom and experiment in the browser – zero apps, zero stress.
DIY prints often disappoint: faded colours, glare from glossy paper, muddy details. Add the chance of ink smears or bad sizing and the whole gallery loses impact.
Framky uses professional printing on premium matte photographic paper. Colours stay rich, details sharp, and because the frames are glass‑free, there’s no reflection – your images pop in any light.
Practical tip: Skip the home printer if you care about longevity. Matte paper not only looks better, it makes photos feel integrated with the wall, not trapped behind glass.
Drilling can be scary – especially in a rental or freshly painted room. You risk cracked plaster, ugly scars or hitting wires you can’t see.
Framky removes that fear entirely. Each kit includes strong adhesive hangers that let you mount every frame quickly and safely, no tools or mess required. The gallery holds firm yet can be moved or removed without damage.
Practical tip: Wipe the wall with a dry cloth before sticking the hangers to remove dust and boost adhesion. The included template ensures exact placement the first time.
Hanging frames “by eye” is the fastest route to frustration. Even tiny misalignments shout at you every time you walk past. Without a level and precise measurements, mistakes are almost guaranteed.
Framky’s 1:1 paper template shows the exact spot for each frame. Tape it to the wall, stick the hangers, peel the paper away – done. Perfect symmetry in minutes.
Practical tip: Don’t shy away from larger layouts. With the template, a 9‑ or 12‑frame grid is just as easy to install as a pair of pictures.
Buying frames, prints, hooks and tools separately adds up fast. Mistakes (like ordering the wrong size) burn even more cash.
Framky gives you a transparent all‑inclusive price. Everything matches, everything fits, and the end result looks like it cost far more than it did.
Practical tip: Do a quick breakdown: frames + pro printing + adhesive hardware + your time. Framky usually beats – or at least equals – the DIY cost, but saves hours and guarantees big‑league results.
If it’s your first gallery wall, nerves are normal. Will it look good? Will the colours clash? Doubt can kill motivation.
Framky lets you visualise the entire gallery before you pay a cent. On framky.com you can rearrange, swap, and preview every element until you love it.
Practical tip: Browse real customer galleries on Framky’s Instagram or website. Seeing everyday homes (not showroom sets) makes it easier to picture the transformation in your own space.
In our gallery wall report 2026 we read 435 forum threads about gallery walls. A quarter of them (25%) were requests for help with the layout, very often with a photo and the words "something looks off". These are the causes that came up most often in the replies, with the fix for each:
With Framky each of these hurdles becomes a simple step toward a gallery wall you’ll love. Your memories deserve a place on the wall – not just in the cloud.
Ready to start? Check out the layouts at framky.com and build your own zero‑stress gallery today.
Why does my gallery wall look off? The most common causes are hanging it too high, using frames that are too small for the wall, uneven gaps and too many frame styles. Check the centre height (about 150 cm), keep gaps equal at 5–8 cm, and use fewer, larger frames in one style.
What are the most common gallery wall mistakes? Hanging too high, too many small frames, uneven spacing, mixed frame styles, not centring on the furniture below, and buying frames or prints before the layout is planned.
How do I fix a gallery wall that is hung too high? Lower it so the centre of the whole group is at about 150 cm from the floor, or 15–25 cm above the sofa or bed below it. With self-adhesive hangers, moving the frames lower leaves no holes in the wall.
Sign up and we'll send you a code with a bigger discount than the shop offers — plus occasional inspiration for your photo gallery wall.
Under a sloped ceiling, hang the gallery on the low knee wall or the gable wall, not on the slope. Heights, layouts and fixings for attic rooms.
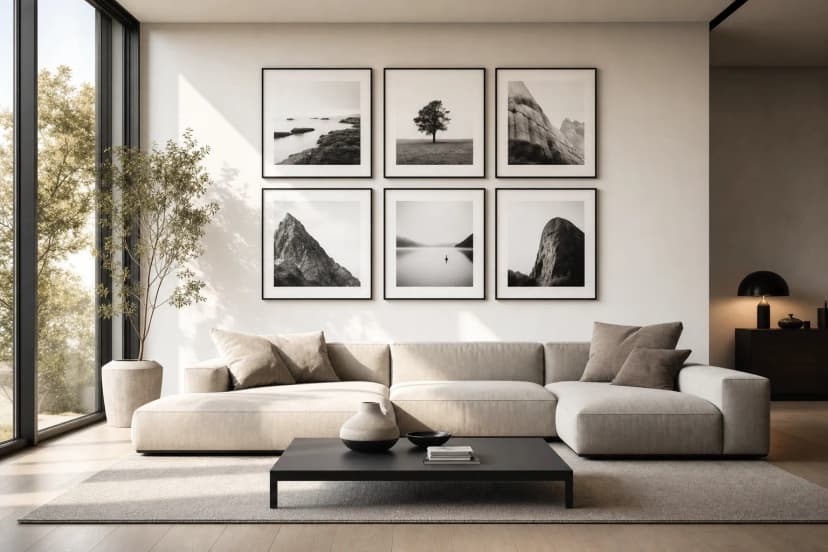
Treat the TV as one frame: centre the gallery on the screen, align edges, keep equal gaps and use larger frames near it. Four layouts that work.
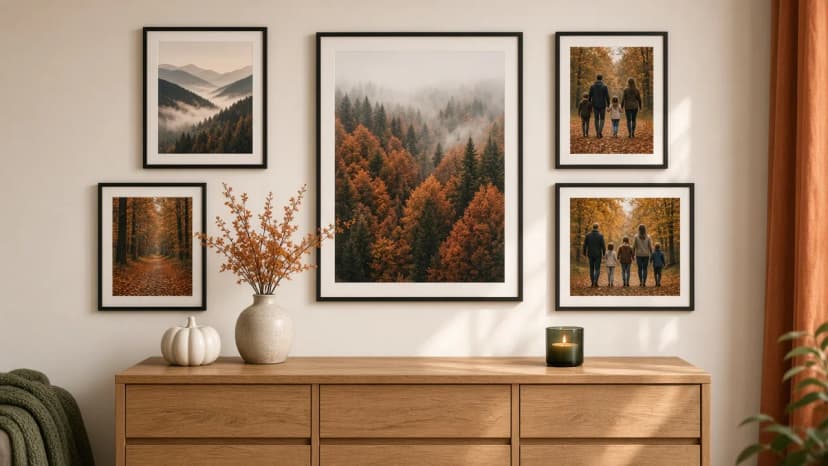
Autumn wall decorations without new frames: swap 2–3 photos in the gallery for forest, misty mountains, night sky and winter photographs from Framky Artists. How many to change, which palette, and when to return to the spring set.
Give it a try?
See how it works