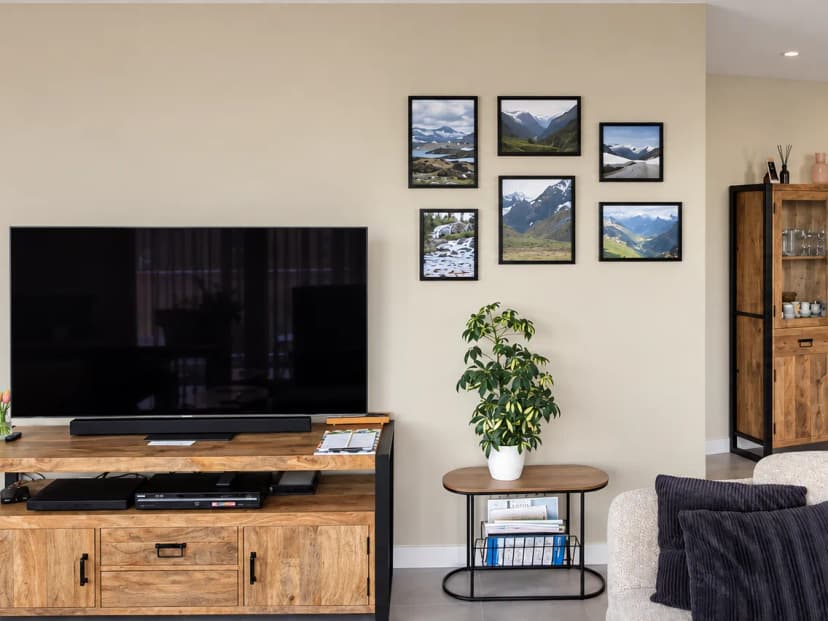
Norway on the wall: Cor's gallery full of holiday memories
Cor turned eight photos of Norwegian mountain valleys into a gallery that brings back memories of his holidays every day.
2 min read
Article
How to remove stray people, banners and power lines from a photo with one instruction in the Framky AI editor. Ready-made instructions, the order of fixes, and how to check the result before a large print.
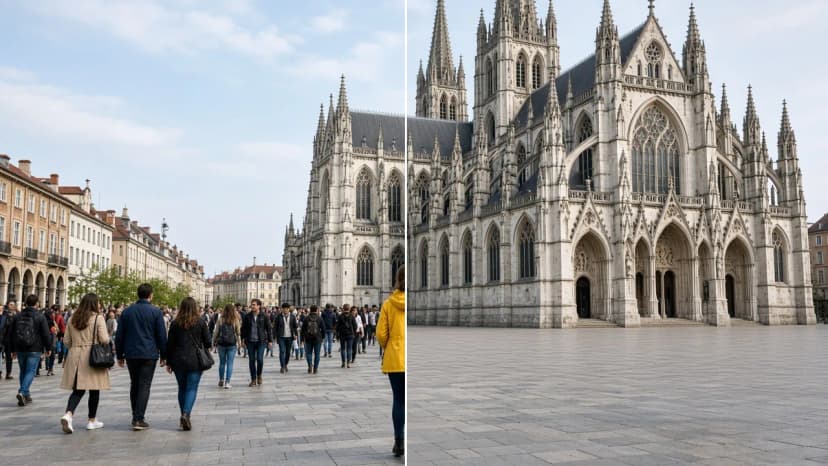
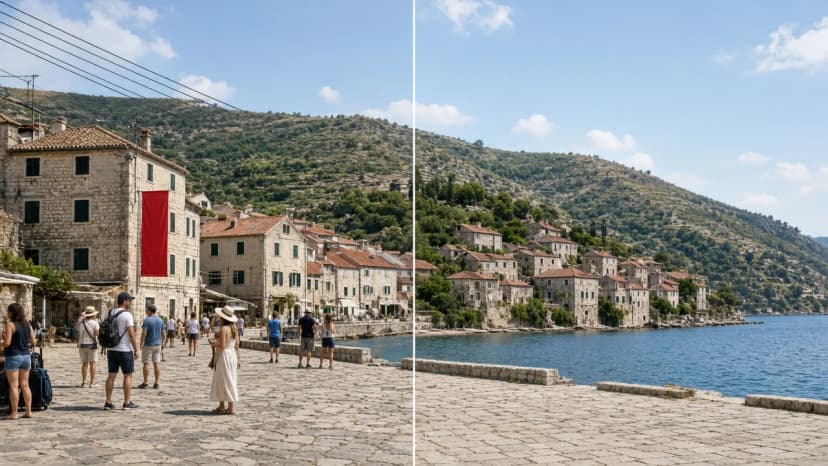
Short answer: To remove people from a photo background in Framky, open the photo in the editor with “Edit with AI” and type one specific instruction, for example “Remove everyone from the background, leave the square and the buildings unchanged”. Check the preview, compare it with the original on a before-and-after slider, then create a final version in full quality for print. You remove banners, cables and power lines the same way.
A travel photo is rarely taken in an empty place. A tour group stands in front of the cathedral, someone puts up a windbreak on the beach, cables run above a mountain lake. On a phone that is a small thing. In a large frame above the sofa, a stranger becomes part of your wall for years.
This article shows how to remove those distractions in the AI editor, in the same place where you design a photo gallery wall. A general description of the editor, credits and versions is in the AI photo editor in Framky.
On a screen you look at a photo for a few seconds, and you look at what matters: the faces, the view. A photo on the wall you see every day, and the eye starts to wander over the details. Then everything that stayed invisible in the phone gallery shows up:
The larger the format, the more visible it is. If you are planning one large photo as the centre of the gallery, also read what size to choose, and how many.
Example instructions. The editor also offers the ready idea “Remove people from the background”:
| Situation | Instruction |
|---|---|
| A crowd in front of a monument | Remove everyone from the background, leave the square and the buildings unchanged |
| One person in the frame | Remove the man in the blue jacket on the right |
| Family in the foreground, tourists behind them | Remove people from the background, the people in the foreground stay unchanged |
| A beach | Remove the people and the windbreaks from the beach behind us |
| A street | Remove the passers-by and the parked scooters from the street |
If you are removing people and your family is also in the photo, always write who should stay. An instruction that only says “remove people”, without that note, can treat everyone the same way.
The same rules work for objects. Name the object, give the place, and say what should stay.
| Distraction | Instruction |
|---|---|
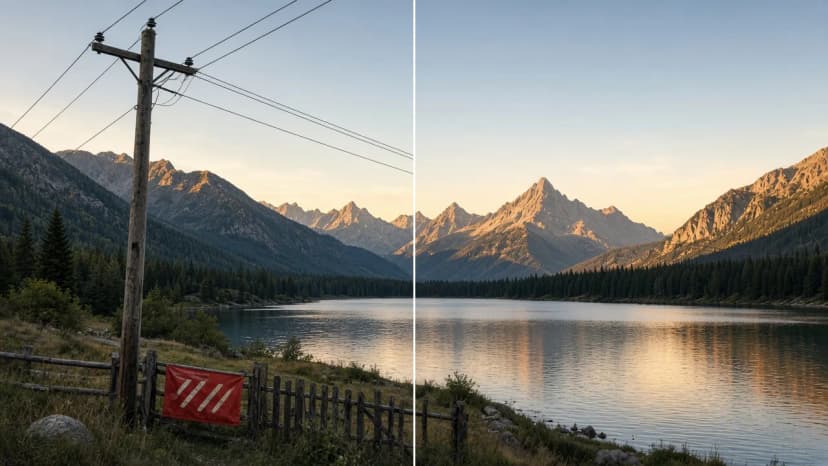
| Power lines above the mountains | Remove the cables and power lines from the sky |
| A pole in the landscape | Remove the power pole on the left, fill in the forest and the lake |
| A banner on a building | Remove the advertising banner from the building facade |
| A road sign | Remove the road sign from the foreground |
| A bin and cones | Remove the rubbish bin and the cones from the pavement |
Two practical tips:
A preview on a phone forgives a lot. A print in a frame forgives less. Before you use the version in the gallery:
We most often save photos that cannot be taken again: a trip from years ago, a place you will not return to, a moment with children who are older today. It is worth going through the archive with that in mind:
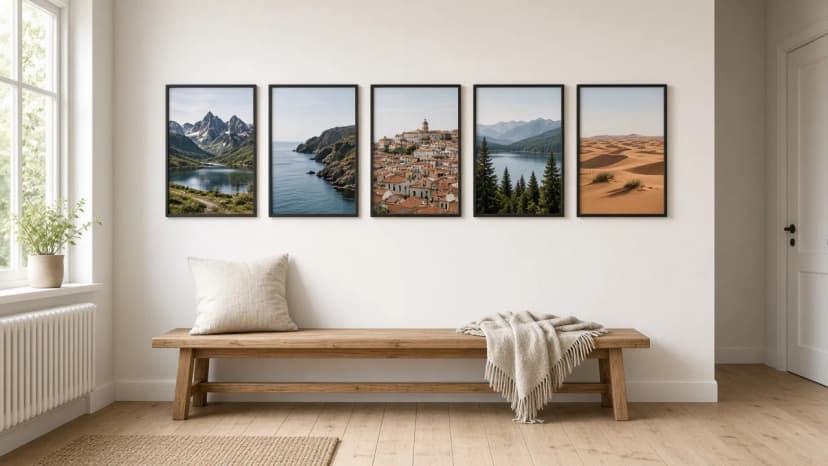
Ideas for arranging photos like these are in a gallery of travel memories. How this looks in real homes is shown in the stories of Henry and Kai. If you are only planning the trip, a few tips on taking better photos from the start are in how to take beautiful photos on holiday.
Sign up and we'll send you a code with a bigger discount than the shop offers — plus occasional inspiration for your photo gallery wall.
Cor turned eight photos of Norwegian mountain valleys into a gallery that brings back memories of his holidays every day.
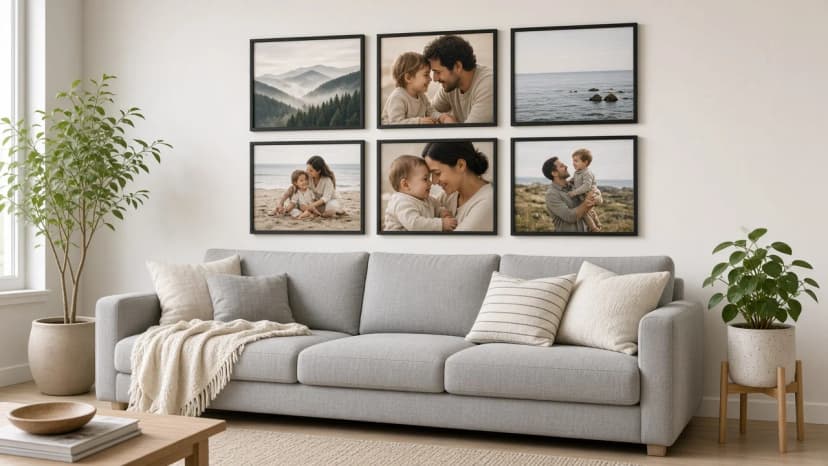
Framky Artists is a catalogue of photographs by independent photographers. Filter by category, colour or place, mix them with your own and order a gallery in frames without glass.
The AI editor in Framky fixes a photo from one sentence: it removes people from the background, opens closed eyes, smooths wrinkles and blurs the background. See how the preview, the final version and credits work.
Give it a try?
See how it works